I’ve been buying ten pound bags of chicken hindquarters and packaging them individually to freeze. I use them for chicken enchiladas, gravy and soup. I’ve developed a couple of recipes I really like; chicken gravy with stuffed baked potatoes for two and two generous servings of an easy and delicious chicken soup.
Stuffed baked potatoes with chicken gravy
Thaw two chicken hindquarters, separate legs from thighs, and brine for an hour. Easy brining is kosher salt in a gallon ziplock bag. Add water, dissolve the salt, add chicken and zip it shut while expressing the air. I set it in the sink if it’s not going to be brining long or set it in a bowl in the fridge if it’s going to sit longer than that.
In the instant pot add 1 tsp italian seasoning, 1 tsp of poultry seasoning, 1/4 tsp hing (or a garlic clove and a quarter of an onion) and 4 cardamom pods. Place the chicken skin side up in the bottom and add enough water to come halfway to the top of the chicken. DO NOT cover the chicken in water. The goal is a beautiful flavorful broth and more water isn’t the answer. Put the lid on, set to pressure cook for 24 minutes. When the chicken is done separate out the meat and roughly chop it. Strain the broth into a container.
Put 2/3 of the chicken in a pan with butter and onion/garlic oil. Once the chicken is warmed up nicely add enough of the broth to do gravy justice. When the broth in the pan starts to simmer mix cornstarch with a bit of broth and thicken the gravy.
Bake a russet potato. Once it’s cooked, cut the baker in half lengthwise and scoop out the potato.
In the bowl with the baked potato guts add sour cream and butter and mix well. You don’t want completely smooth and you don’t want big lumps. You can use the skin to present the potato. Wadly likes the skin, I give it a skip. If you’re using the skin, mound half the potato mix into one of the potato skin halves. Place the potato in a soup bowl (with or without skin). Keep the potato to one side of the bowl. Add gravy to the other side of the bowl. Serve with a slice of buttered sourdough or a biscuit and a bowl of steamed veges.
Put the left over gravy in with the same container as the chicken and left over broth and refridgerate for later use.
This has become one of our favorite meals. In addition to being easy, it’s really easy on the budget.
Easy and delicious chicken soup
 Dice broccoli stems and quarter florets. Dice carrots. Sautee in butter and onion/garlic oil. While they’re cooking cut up mushrooms, green onion, peppers (I use green and something else, red or yellow or orange). Once the carrots have started to soften add the remaining vegetables and more butter. Cook for 3-5 minutes. Add the left over chicken/broth/gravy. If the soup is too thick add 1/2-1 cup broth (bone, vegetable or chicken – be aware commercial broth is loaded with salt). Simmer until all the veges are done.
I did say easy didn’t I? And really delicious! All the flavoring has already been added, it’s just a matter of cooking the veges and adding the left over chicken/broth/gravy.

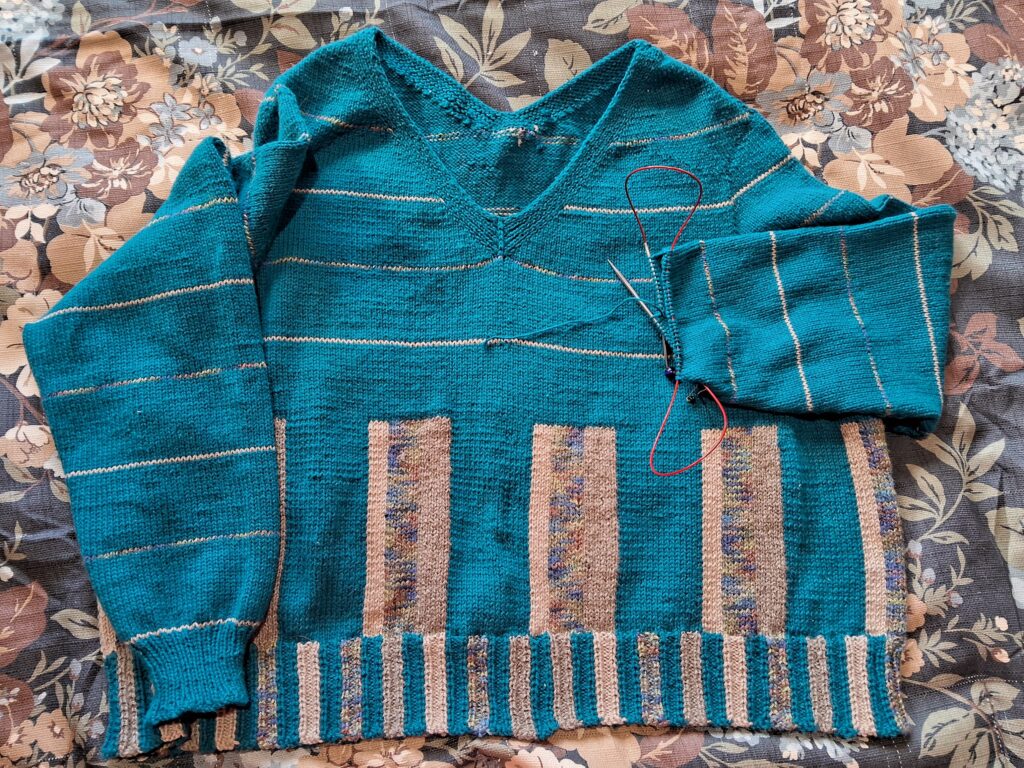
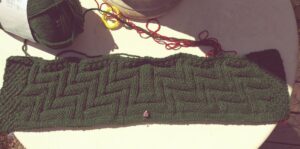
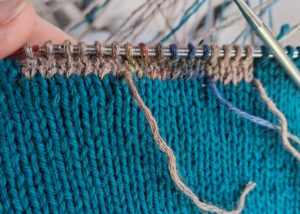 I’ve started a new project, a sweater with vertical stripes. I’ve been pondering this project for a while and just happened to hit a sweet spot in yarn for the project.
 Then I started knitting with Hobbii’s Rainbow Bamboo (a lovely cotton/bamboo yarn). I bought sweater quantities of colors I really like, a graphite, a navy and a dark teal that perfectly matched the teal in the variegated chained bamboo. Trust me, this was not a deliberate choice but . . . score! Then I had some left over Universal Yarn’s Bamboo Pop “Sand” from another project (a shortie fade to wear over my day dress in the morning when it’s chilly). Like I said, kismet. The stars had aligned.
 I’ve made one pair of socks and they’re comfortable but a bit loose with wrinkles over the top of my instep. So . . . adjustments.
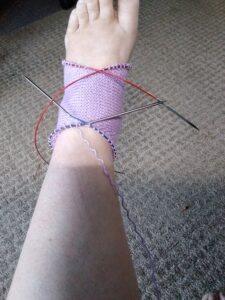 Because the finished sock had wrinkles across the instep I stopped doing increases for the instep wedge at the start of the short rows. This was marvelously successful. It produced a shorter (from ankle to toe) instep which resulted in a better fit.
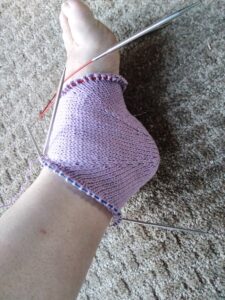 The result of fewer rows produced fewer short rows which produced fewer ankle and toe stitches and shorter instep run giving a better fit.
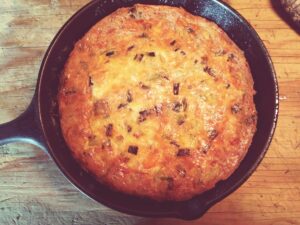 I had a frittata for breakfast. SO good! Plus I have half left over for another meal!
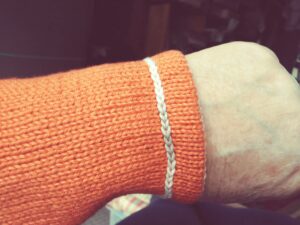
 It’s important to know what type of foot you have. I have very short feet with very high volume and my foot has a significant curve from heel center to toe center. My foot from heel to end of middle toe is 8.25″ long. My foot is also very wide. 3FF. Until I had custom boots made at White’s I didn’t know there was such a size. Wadly, venerable spouse, says I wear boxes with laces. Wadly has feet that are the complete opposite. His are very long, very narrow and extremely low volume. He’s living the other end of the “shoes don’t fit” spectrum, he has skis for feet.
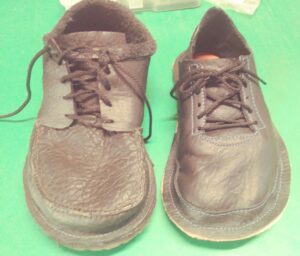 The shoe pattern I bought is designed for a more common lower volume straighter foot, something approaching the average foot shape.
 Feet come in four toe shapes; sloped, mountain, plateau and square. This shoe pattern is designed for someone with sloped toes with the big toe being the longest. I have mountain shaped toes with the middle toe being the longest. I had to take some off the big toe and redistribute that volume to the middle toe before ever trying the test shoe. There isn’t quite enough height to comfortably accommodate my fat little piggy toes, something another pattern user commented on.


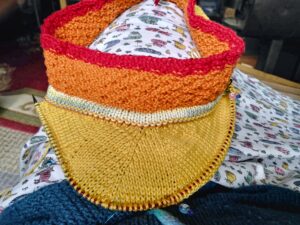


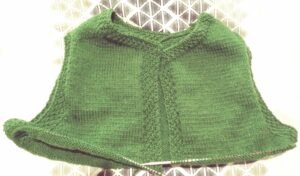
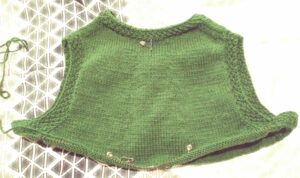
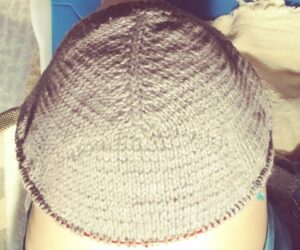 I’ve started playing with a new shoulder, something easy for people to knit that gives a really nice fit. I think I’ve got a winner.